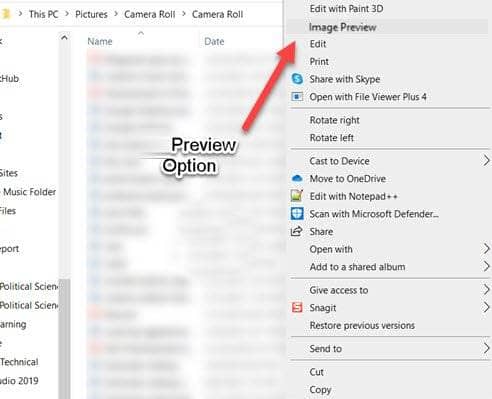
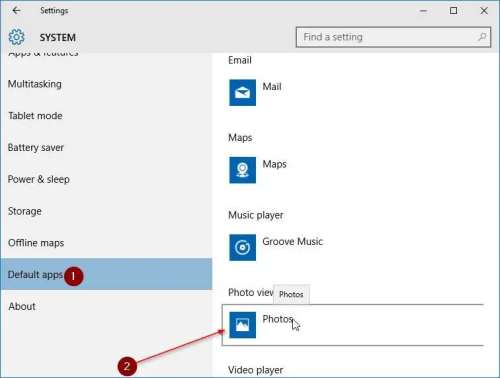
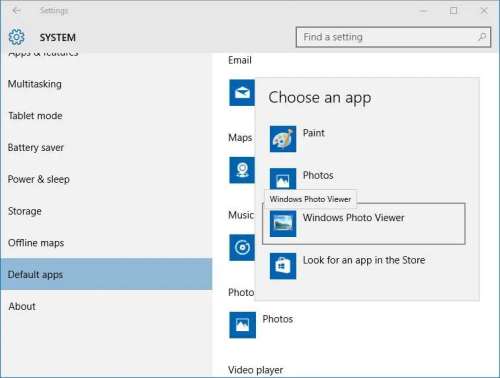
The Preview option will only be seen if the image type is set to Windows Photo Viewer. So, to get back the option, you need to set this photo viewer as a default viewer, as only Windows Photo viewer offers a Preview feature for any image file. Also Read- Best Photo Viewer for Windows 10
Steps to Fix Image Preview Option is Missing From Context Menu in Windows 10
Let us check out how to set and enable the Windows Photo Viewer as a default viewer in Windows 10 to get back the Preview option in the Context Menu.
Steps to Fix Image Preview Option is Missing From Context Menu in Windows 10Method 1: Make Changes in Registry SettingsMethod 2: Set Windows Photo Viewer as Default for ImagesSet Windows Photo Viewer as Default for All Types of Images
Method 1: Make Changes in Registry Settings
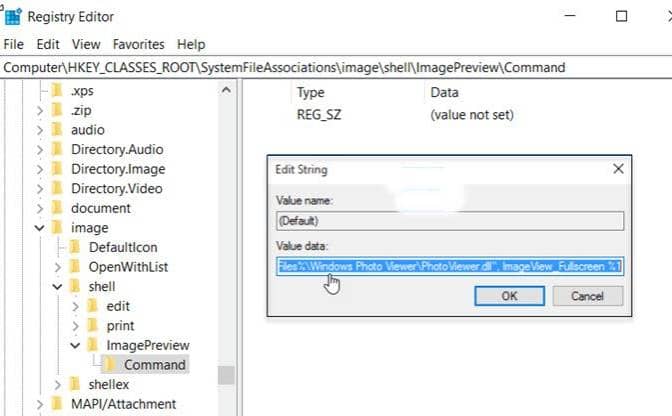
Windows Photo Viewer is not removed from Windows 10, but it has been disabled because of the new Photos app. You need to enable it by editing the Windows registry and getting back the Preview option that is not showing in the right-click. So, follow the steps and make changes to the Registry Settings. Now, exit from the editor and restart your PC. Now, go to File Explorer and do right-click on any image, and check whether the Preview option is available or not.
Method 2: Set Windows Photo Viewer as Default for Images
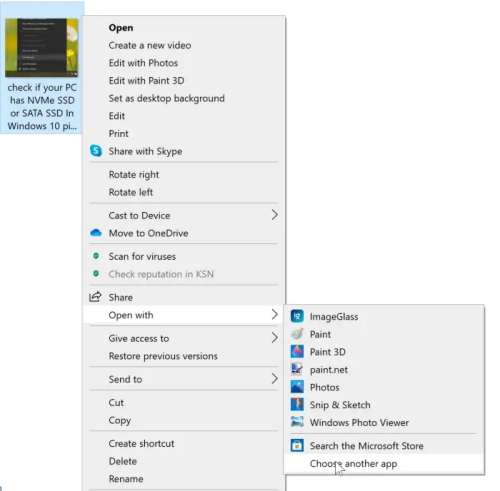
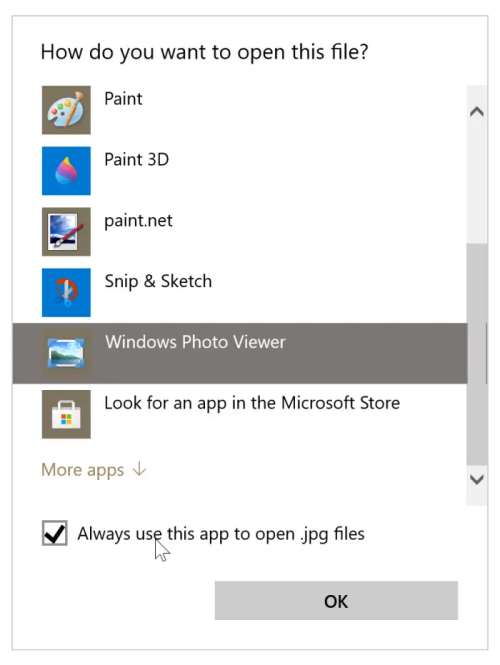
The Preview option is available only for picture-type files, and for it, the Windows Photo Viewer should be the default viewer. If the Windows Photo Viewer is set as default for JPEG files, you will only see the Preview option for JPEG files. So, you must set it as a default for any image file type.
As you have made these changes, whenever you will open this type of image, you will see the Preview option in the Context menu. Or set Windows Photo Viewer as default for all types of images. Here’s how you can set it as default for all image types.
Set Windows Photo Viewer as Default for All Types of Images
Use the Settings App on Windows 10 Also Read- Best Ways to Open WebP Images in Windows 10

